.svg)
Mar 3, 2023
How to Use LaunchBay's Creative Feedback Tool
By
Sam Chlebowski

If you design anything for clients – websites, logos, social media posts, or even things like apparel or wedding & event style guides – you know how challenging it can be to get clients to provide helpful feedback. It often requires multiple follow-ups for clients to provide feedback in the first place and then additional clarification to ensure you understand them correctly.
LaunchBay’s Creative Feedback Tool helps you get crystal-clear client feedback and eliminates the need for follow-up emails or additional clarification.
This short guide explains precisely how LaunchBay’s Creative Feedback Tool works in three quick steps.
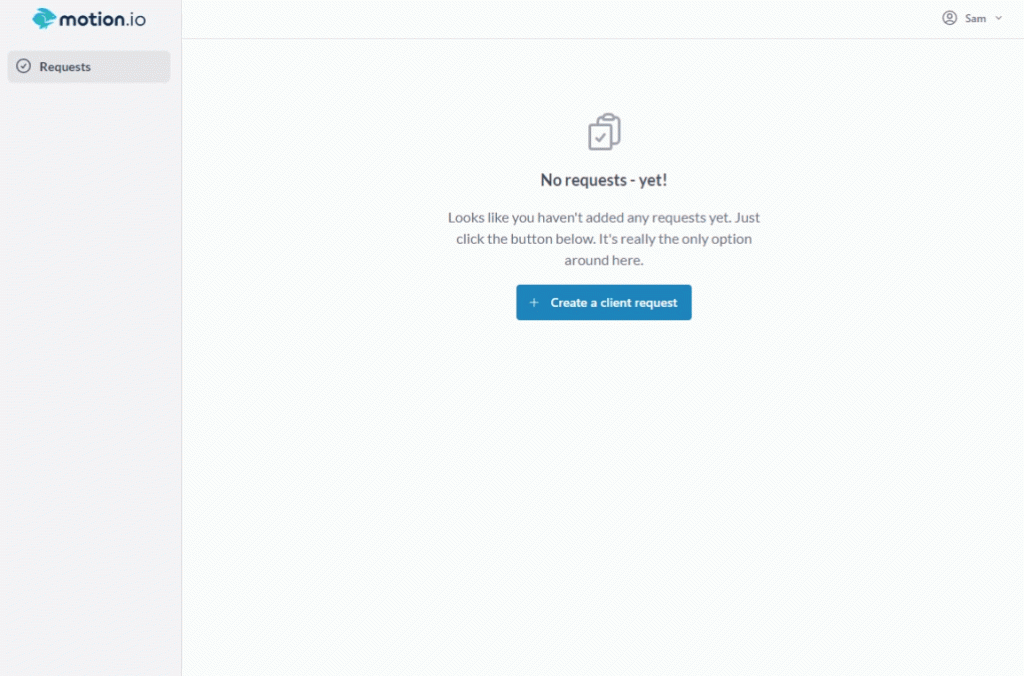
Step 1: Create a new feedback request
After logging in to LaunchBay, click the “create request” button to bring up the feedback request modal. Then, in the modal, give the request a name and upload your files.
Next, add a due date, enter the client’s email address, and click “create & send request”.
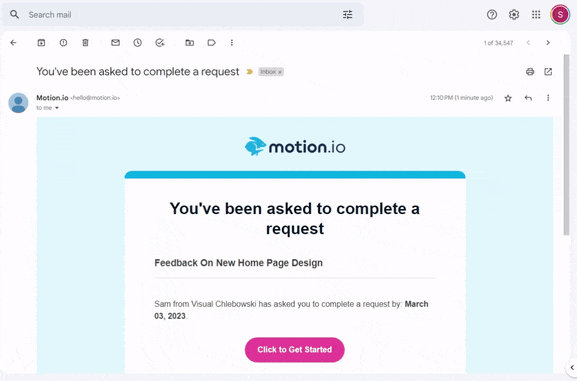
Immediately upon the request being sent, LaunchBay notifies the client of the feedback request and sends them automatic reminders until they complete it — without any additional setup on your end.
Step 2: The client provides feedback
LaunchBay uses magic link technology, so all your client has to do is click the button in the email they receive. They are then auto-authenticated into LaunchBay, without ever needing to create an account or remember a password.
Clients then click the image and leave sticky note feedback for you. For feedback requests with multiple files, all files are clearly displayed at the bottom of the window for clients to easily toggle between.
Step 3: Review the completed request
You’re notified via email once the Client completes their feedback. You can then log in, review their feedback, respond, or mark the request as Complete.


Take command of every customer onboarding.
One platform to run, monitor, and manage every customer onboarding, with full visibility into every account.
Ready to stop wondering where things stand?