.svg)
Aug 21, 2025
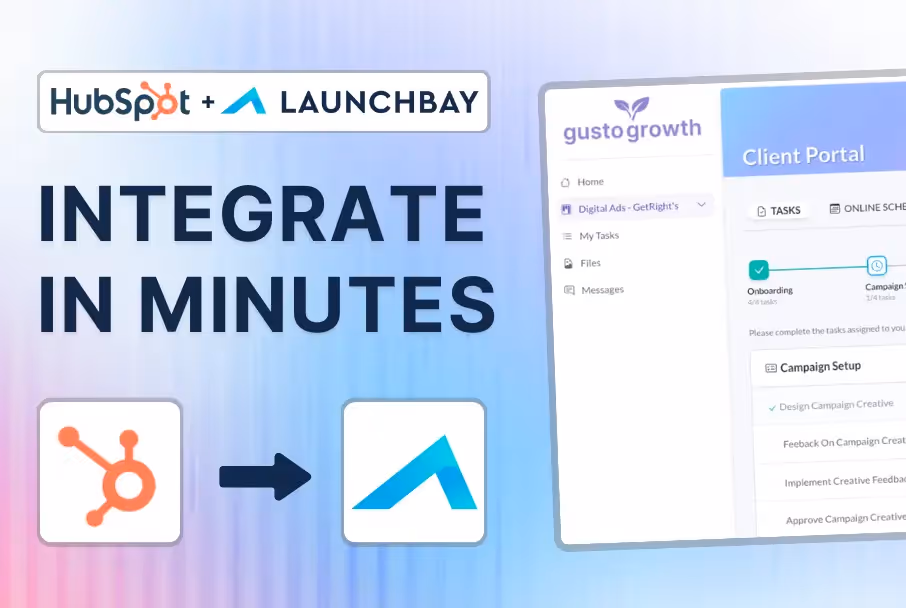
Automate Client Onboarding: How to Connect HubSpot to LaunchBay with Zapier
By
Sam Chlebowski
Introduction
Client onboarding is one of the most critical steps in building long-term customer relationships. But doing it manually—sending invites, creating portals, and assigning tasks—can be time-consuming and prone to error. That’s why automating your onboarding workflow by integrating HubSpot with LaunchBay is a game-changer.
In this guide (with a step-by-step video tutorial), you’ll learn how to automatically invite new customers into a white-label, loginless LaunchBay portal the moment they become a customer in HubSpot.
Why connect Hubspot to LaunchBay?
With just a few minutes of setup in Zapier, you can automatically invite new customers to branded, login-free LaunchBay portals the moment a deal is marked Closed Won in HubSpot.
This workflow delivers powerful benefits:
- Save time by eliminating manual data entry
- Give clients instant access to onboarding tasks
- Provide a seamless, professional experience with your branding front-and-center
- Ensure consistency across every new project
Setup Guide
Streamline your client onboarding by connecting HubSpot to LaunchBay using Zapier. In this step-by-step tutorial, you’ll learn how to automatically invite new customers to white-label, loginless LaunchBay portals the moment a deal is closed or a contact becomes a customer in HubSpot.
Step 1: Create a Zap in Zapier
Start by creating a new Zap in Zapier and set HubSpot as the trigger app. Choose the Contact Property Change trigger (or a deal stage change if you prefer).
Step 2: Add a Filter for New Customers
Since the trigger applies to any property change, add a Zapier filter so the workflow only continues if the lead status equals “Customer.”
Step 3: Connect LaunchBay
For the action step, select LaunchBay → Create Project.
- Choose your portal template
- Map the portal name to the client’s first + last name (or company name)
- Map the client’s email and name fields
This ensures every project is personalized for the customer.
Step 4: Assign Client Tasks Automatically
Enable the setting to assign tasks immediately. Any tasks you’ve built into your LaunchBay template will be automatically ready for your client in their loginless portal.
Step 5: Test & Confirm
Run a test in Zapier, then check your LaunchBay projects tab. You should see a new project created instantly, with onboarding tasks already activated.
Conclusion
With this integration, every time a HubSpot contact becomes a customer, they’re automatically added to a branded LaunchBay portal—no manual work required. This saves your team hours, ensures nothing slips through the cracks, and provides clients with a smooth onboarding experience.
Final Thoughts
With this integration, every time a HubSpot contact becomes a customer, they’re automatically added to a branded LaunchBay portal—no manual work required. This saves your team hours, ensures nothing slips through the cracks, and provides clients with a smooth onboarding experience.
If you're not already using LaunchBay, now is the perfect time to try it out.
👉 Start your free trial today and see how much smoother your client onboarding and collaboration can be.


Take command of every customer onboarding.
One platform to run, monitor, and manage every customer onboarding, with full visibility into every account.
Ready to stop wondering where things stand?