.svg)
October 10, 2026
Let Your Automations Tag Tasks for You
.png)
Let Your Automations Tag Tasks for You
Part of our 31 Customer Improvements series, where we ship one feature our customers asked for every day this month.
LaunchBay automations can now add or remove task tags on their own. That sounds small, but a tag in LaunchBay is rarely just a label. It can assign a teammate, flag a blocker, fill a saved view, and start other automations. Now all of that can happen without anyone clicking, so client implementations keep moving.
The problem: tags that depend on someone remembering
Until now, every task tag had to be added by hand, and that causes familiar problems:
- Tags go stale. A task finishes, but "In progress" stays on, and filtered views stop telling the truth.
- Routing waits on a person. Someone has to notice the client finished intake and tag the next task. If they're out, the work sits.
- Blockers get missed. When a client skips a step in their client portal, nobody flags the task that depended on it until it's late.
- Rules get copied everywhere. Five events that should lead to the same follow-up means five automations with the same actions.
What's new
In the automation editor, open the action menu and look under Tags. You'll find two new actions next to the existing project tag actions:
- Add task tag puts a tag on a task you choose.
- Remove task tag takes it off.
Pair either one with any trigger you already use, such as a task completing, a stage activating, a form answer, or a project being created. Add a delay if you want it to wait. If a task already has the tag, adding it again does nothing, so a rule firing twice is harmless.
When an automation sets a tag, everything connected to that tag happens too. Assignment tags assign the teammate. Blocker tags make the stuck task visible to everyone. Tagged tasks show up in your All Tasks filters. And because "task tag added" and "task tag removed" are triggers themselves, one tag can start another rule.
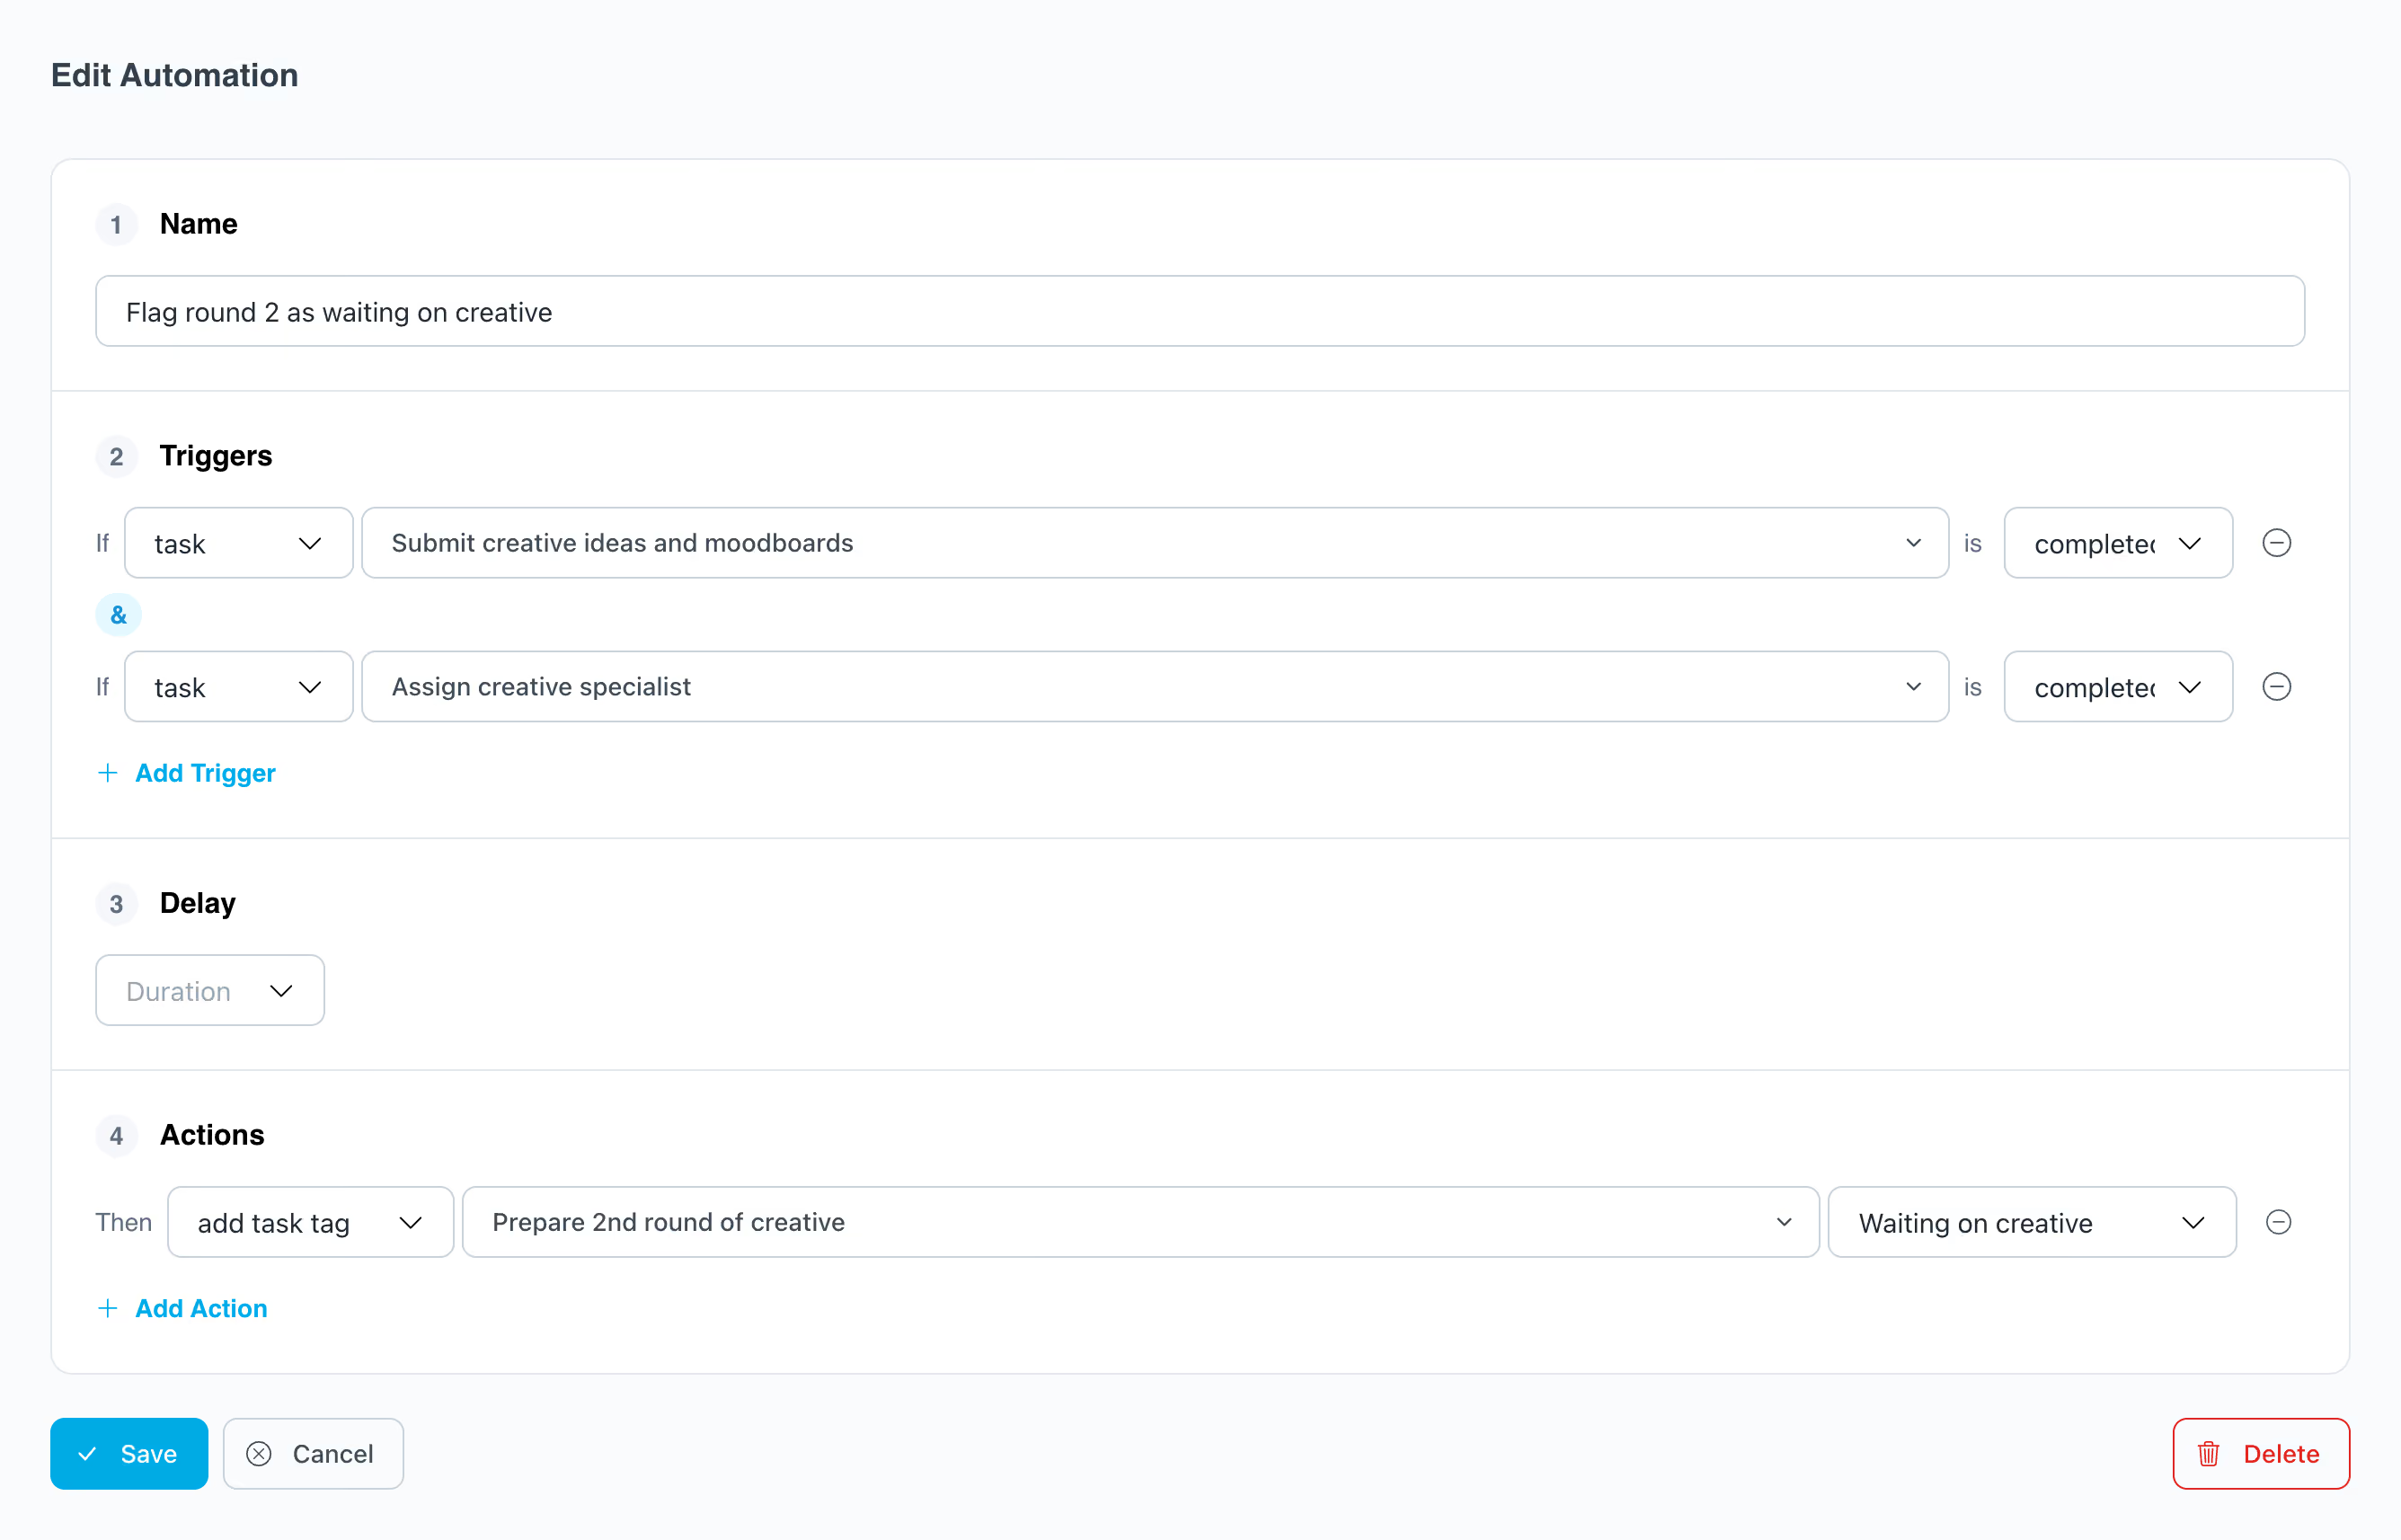
Seven ways to use it
Most of these need just one trigger. The last one waits until two tasks are both done, because an automation runs once all of its triggers have happened.
Build one rule, reuse it everywhere
Since adding a tag is also a trigger, you can split a workflow in two. Build one rule: "When Needs review is added, email the QA lead." Then any number of other automations can simply add Needs review. When the review process changes, you update one rule instead of five.
Works with templates and your AI assistant
Build tag automations into a project template once, and every project created from it gets them, pointed at that project's own tasks. Your routing and status rules come with every new client onboarding, with no per-project setup.
You can also ask your AI assistant to build them. Try "When the contract task is completed, tag the invoice task Ready to bill." The assistant knows your team's task tags, so it uses the right names, and it shows you what it set up.
Get started
- Open a project or template and go to the Automations tab.
- Click New Automation and add a trigger.
- Under Tags, choose Add task tag or Remove task tag.
- Pick the task and the tag, then save.
Start with the tag your team adds by hand most often. That's where you'll save the most clicks.